Creating a mortgage agreements in ZenTreasury requires prior setup of relevant Entity, Counterparty, Portfolio, Cost Center and Bank Accounts. New mortgage can be created manually, or by copying an existing one and changing the needed information.
Creating a new mortgage agreement manually
Step 1: Go to the Mortgage module and click the + icon on top right. Select 'Business mortgage' or 'Real estate mortgage'.
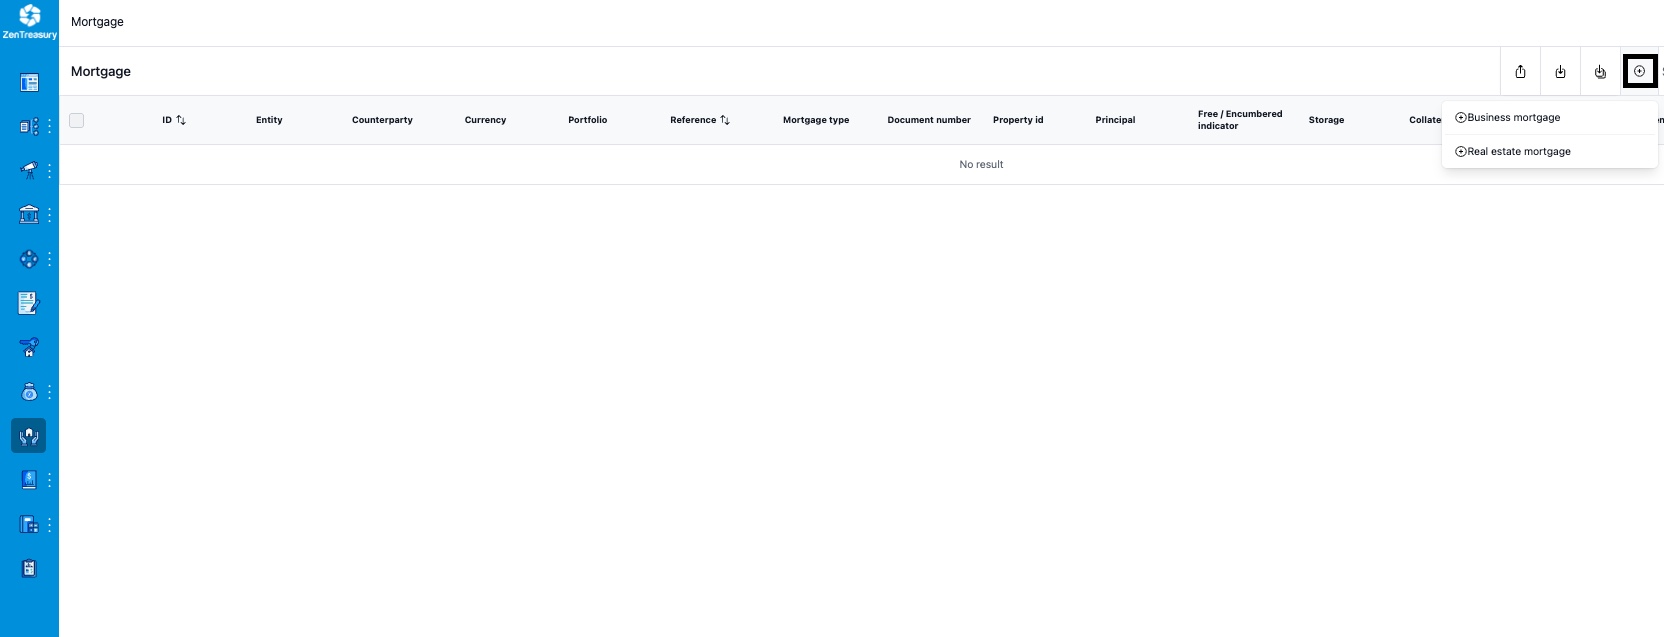
The following view opens. The fields are described below the picture.

1) Select an Entity from the drop down list. (Must be created in Settings > Companies (Must be Internal (i.e. not External) and Counterparty).
2) Select a Counterparty from the drop down list. (Applicant created in Settings > Companies (Must be a Counterparty).
3) Select Currency used in purchase.
4) Select Account related to the purchase currency.
5) Select a Portfolio from the drop down list. (Portfolio created in ‘Settings > Portfolios’.)
6) Select a Cost Center from the drop down list. (Cost center created in Settings > Cost centers.)
7) Select a Mortgage to loan id from the drop down list. If there is a loan related to the property purchase in ZenTreasury, you can select the id of the loan in question here.
8) Select Customer reference - this is a free text field so you can use internal reference or other description here.
9) Enter the property name.
10) Enter the property address, city and country.
11) Enter the ownership percentage.
12) Enter the building size.
13) Enter number of units, if needed.
14) Enter a Pin number (if there is a pin code for the doors, for example).
ADDITIONAL TAB
The following view opens. The fields are described below the picture.
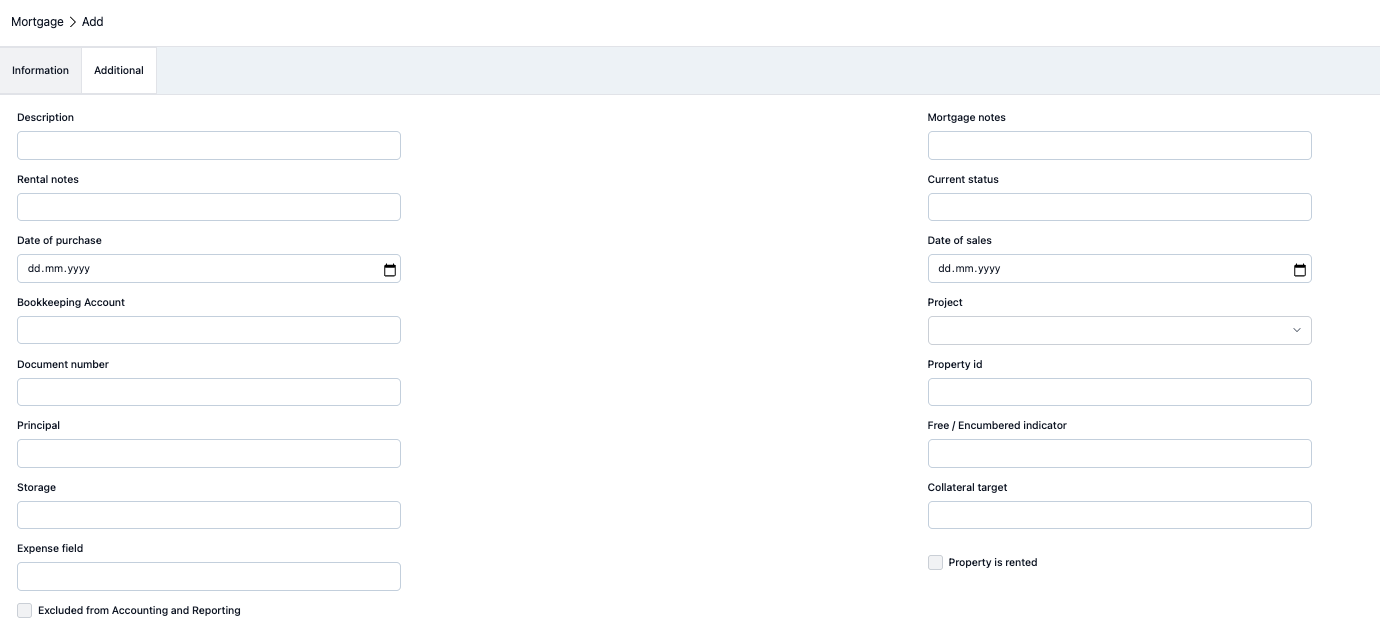
Description is a free text field you can use for the needed extra information.
Rental notes is a free text field regarding the rental information.
Date of purchase can be selected from the calendar.
Bookkeeping Account can be added if needed.
On fields Document number, Principal, Storage and Expense field you can fill more details related to the mortgage.
Excluded from Accounting and Reporting you can checkmark if the property data is to be excluded from all the reports.
Mortgage notes is a free text field for the information regarding the mortgage.
Current status is a free text field for the needed information regarding the status of the property.
Date of sales can be selected from the calendar in case the underlying property has been sold.
Project can be selected from the dropdown in case the property is related to some project in the environment. Projects can be added in Settings - Common Data - Projects.
Property id, Free / Encumbered indicator and Collateral target fields are to specify the mortgage more in detail.
Property is rented add the checkmark, if the property is rented out.
Step 2: After you have filled all the information, click 'Save' button on the top right. You will be directed back to the register, where you can see the property you just created. Click the three dots at the end of the mortgage row and select 'Edit'

There will now be several new tabs visible in the property view:

AUDIT TRAIL
In ‘Audit Trail’ you can view on a very detailed level all the changes made into the agreement.
APPROVAL FLOW
Possibly existing approval flow related to the mortgage transactions will show here as a link to the Approval Flow dashboard view.
ATTACHMENTS
This is where you can save documents in excel, pdf, jpg, jpeg and png up to 5mb. Characters a-z A-Z 1-9 or - _ are only allowed in attachment file names.
VALUATION
Valuation tab includes the information of possibly property valuation. The building and land can be valued separately.
You can create a new valuation by clicking the + icon on the top right row.

Fill in the needed information and click 'Save'.

PROPERTY FLOWS
Property flows can be created for regular payments regarding the property in question, for example the monthly costs.
The flows can be created by clicking *Generate flows' icon on top row on the right.

From the view you can fill in the information regarding the payments and the currency and the account related to the payments. When you have filled in the information, click "Generate" and when the complete payment schedule view opens, just click 'Save' after checking the data.

Was this article helpful?
That’s Great!
Thank you for your feedback
Sorry! We couldn't be helpful
Thank you for your feedback
Feedback sent
We appreciate your effort and will try to fix the article